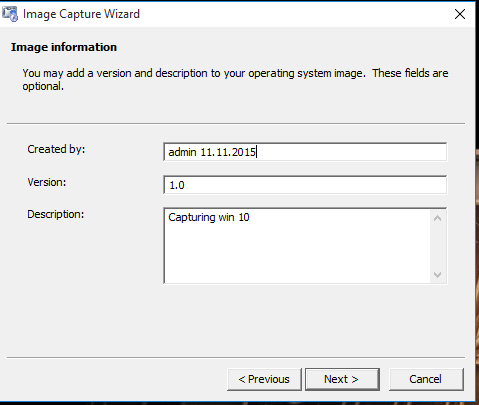
Sometime,we need to deploy OS with predefined software,company background,regional setting,etc…
In this post we’ll upload custom OS image to SCCM server and deploy it to client machine.
First,we need to create “capture” ISO file,wich in fact,is about to “snapshot” current OS setting on client computer and upload it to SCCM later.
In SCCM console click Administration-Task sequence-Create Task Sequence Media
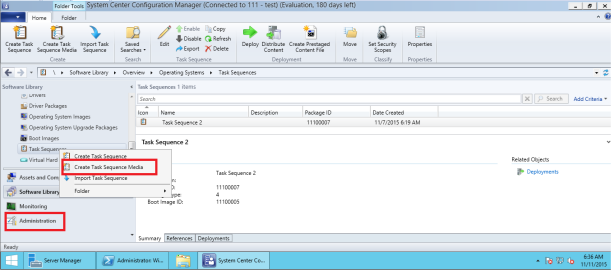
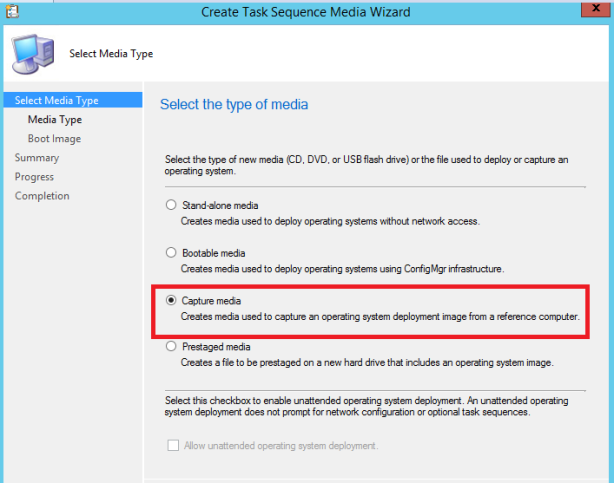
Click Capture Media:
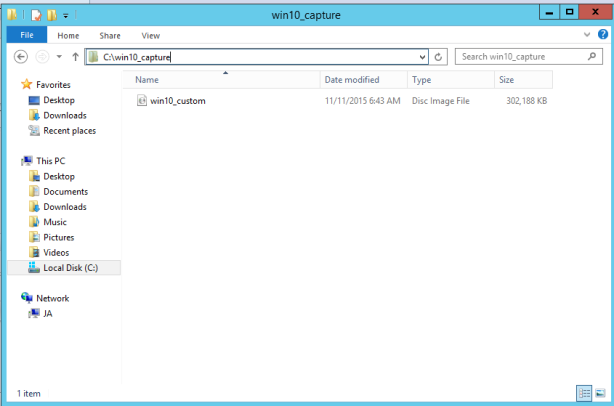
Specify where ISO file should be saved:

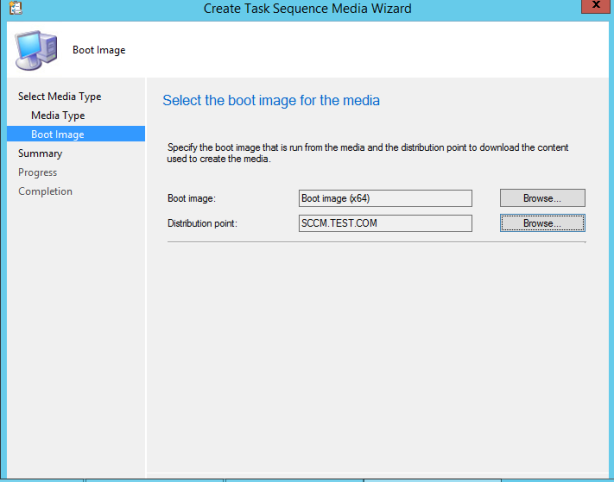
Specify Boot image (by default SCCM is shipped with 2 boot images X86 and X64) and Distribution Point
After wizard finishes,burn new created ISO to CD/DVD media
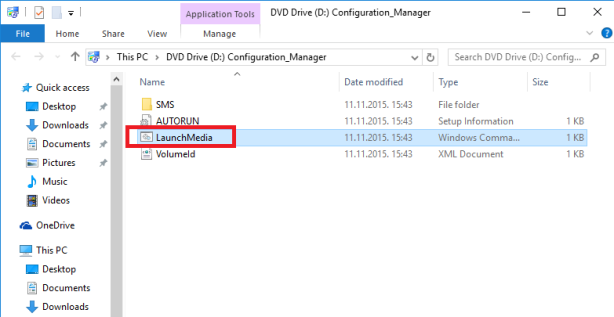
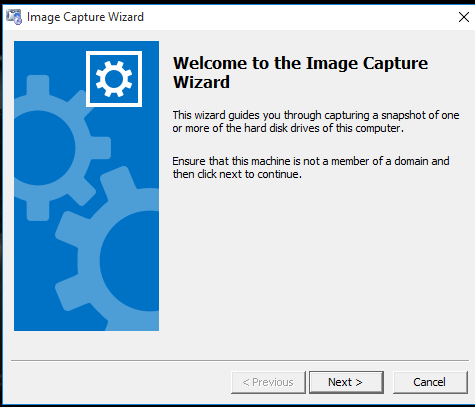
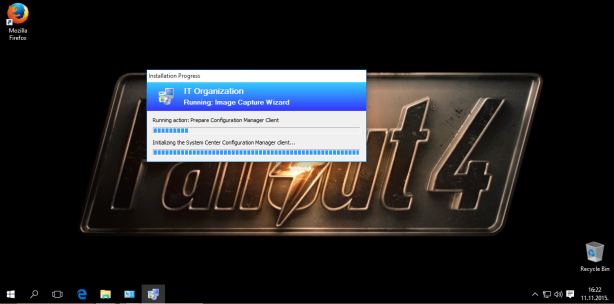
and connect it to client computer from which we need to “capture” image from (make sure you have no recovery partition or sysprep will fail),make sure client computer is not domain joined,browse the media and click “launch media”:
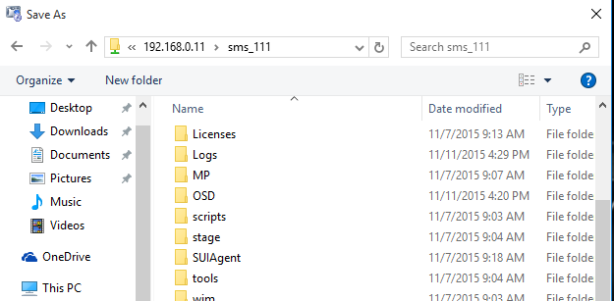
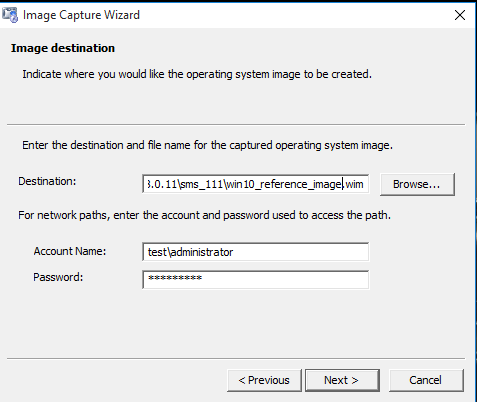
For destination,specify shared folder on SCCM server:
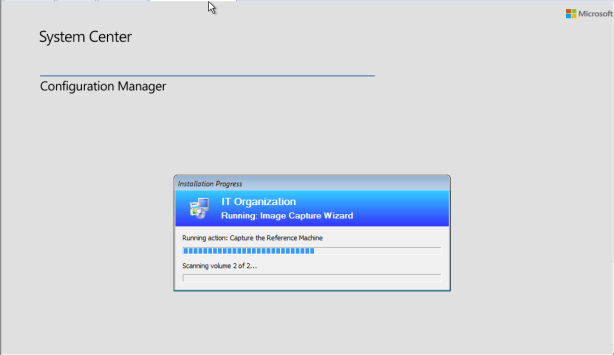
After restart,capturing will continue:
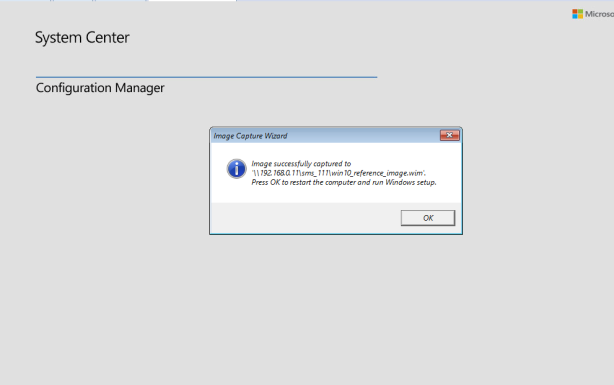
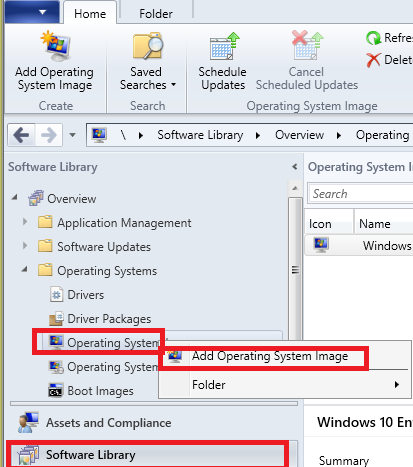
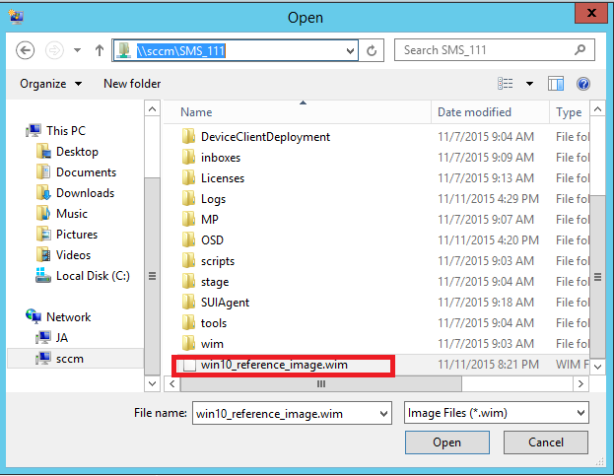
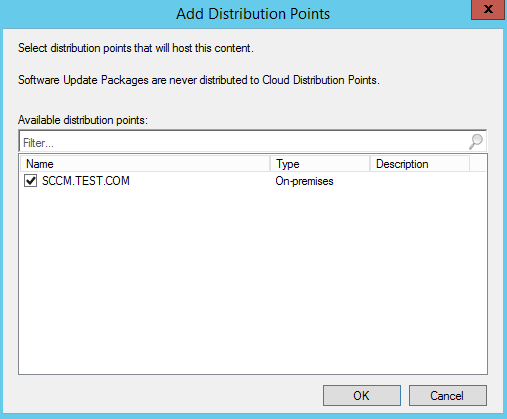
Now we need to deploy captured wim file,from SCCM console click Software Library-Operating System-Add operating system image
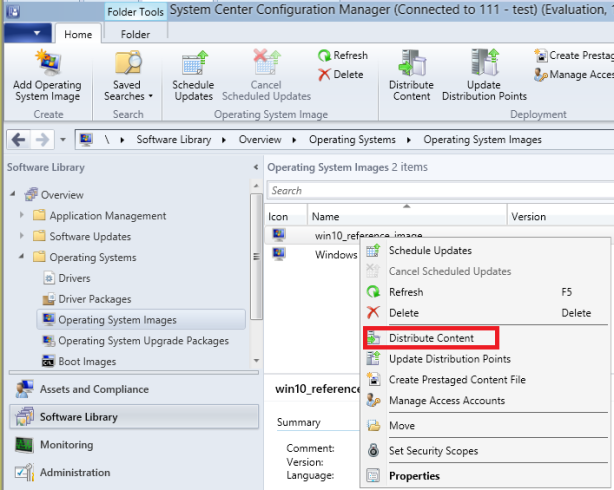
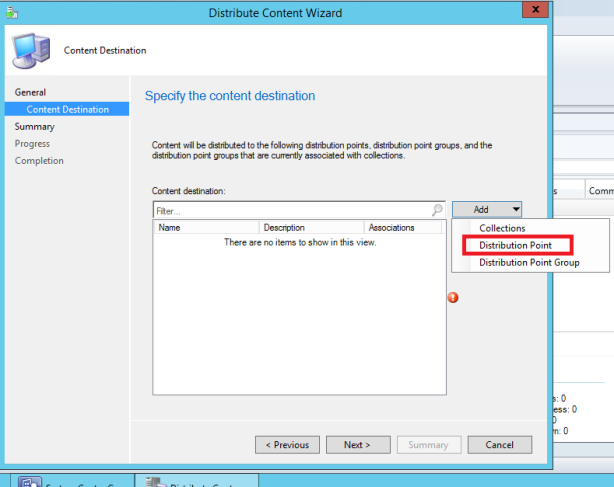
Right click reference image and Update distributed Points:

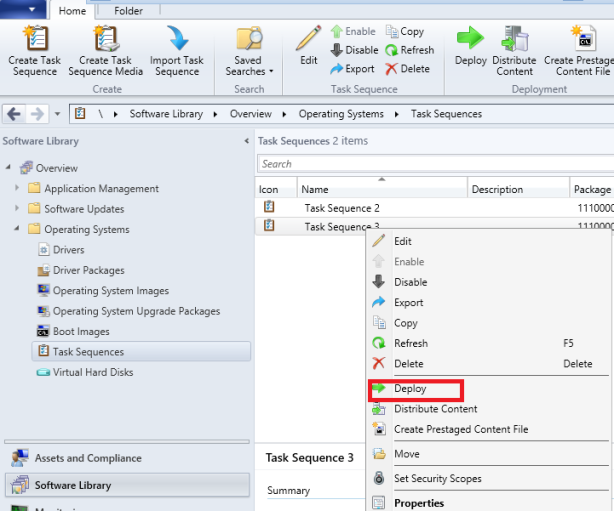
And finally,deploy image:
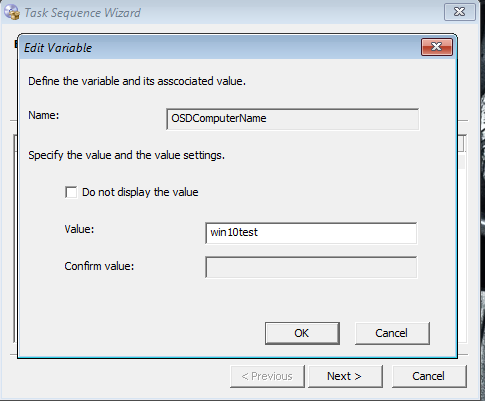
Optionally,we can set computer name during OS Deployement sequence,right click on Unknown computer collection choose properties
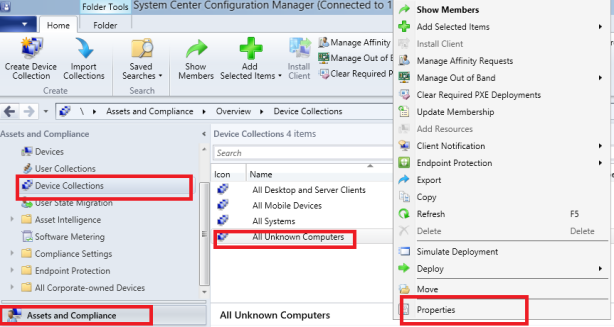
and click on Collection Variables tab
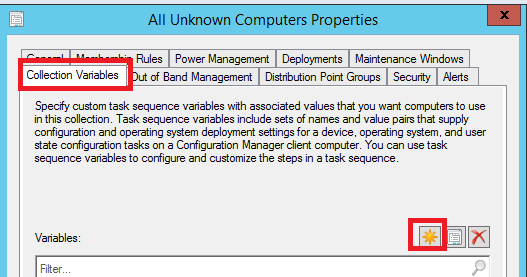
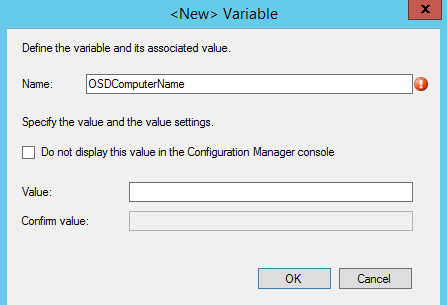
Click new and type OSDComputerName
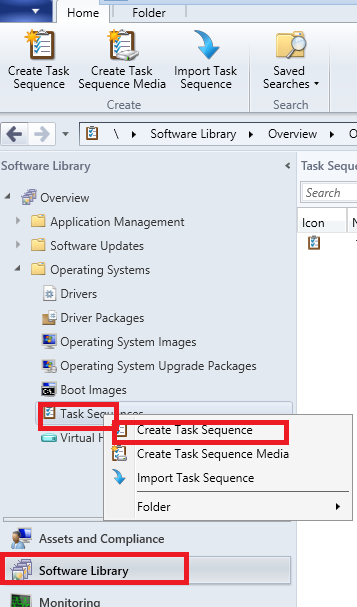
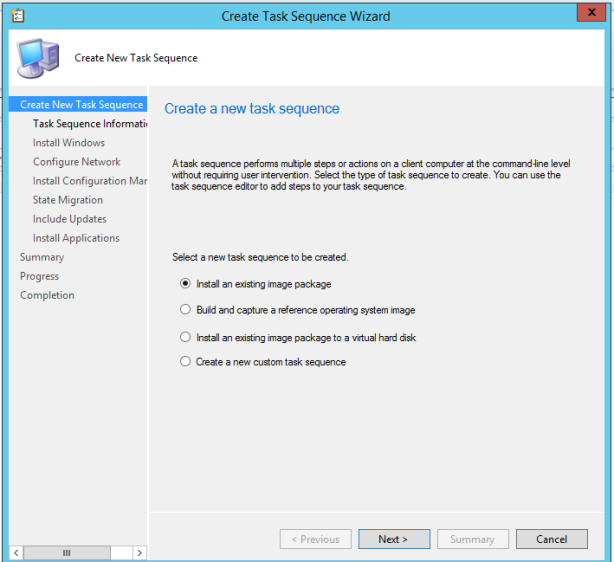
Now create Task Sequence:
Software Library-Task Sequence-Create Task Sequence
Choose boot image:

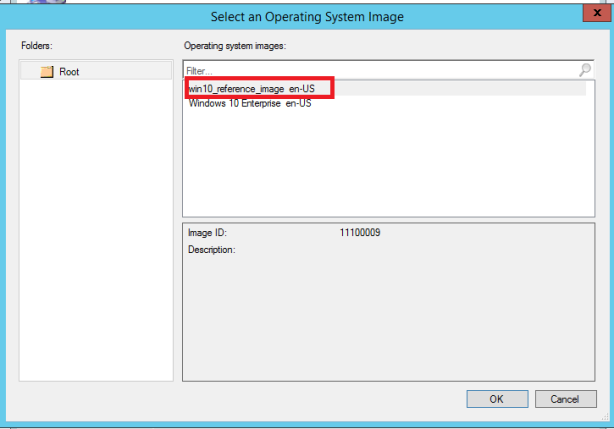
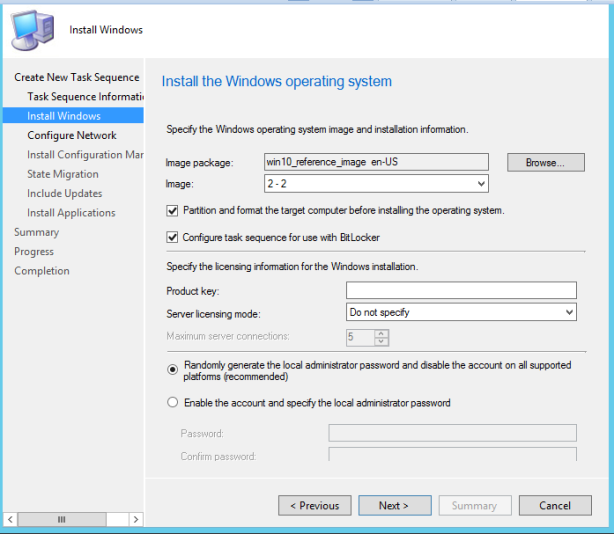
When prompted,choose custom image we captured from client Windows 10 computer
Select 2-2 (1-1 is just 350 MB partition)
Set parameters for domain join

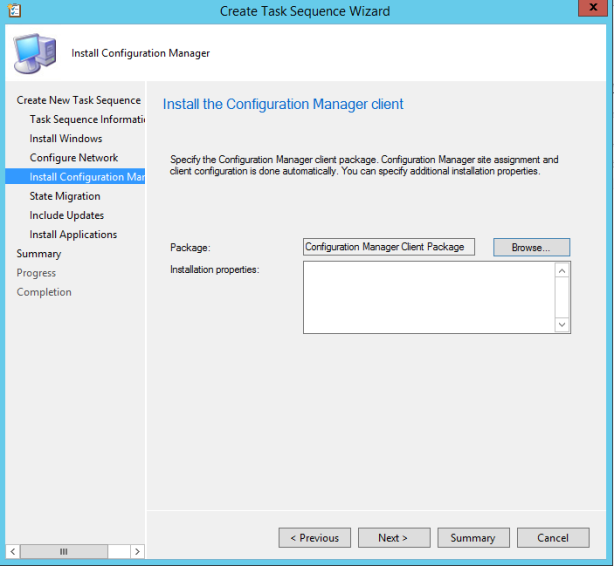
Select Configuration Manager Client Package (make sure it’s published first)
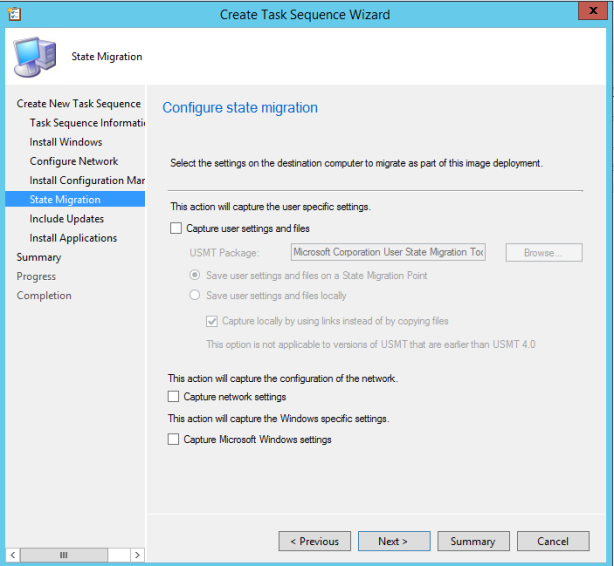
Untick all options
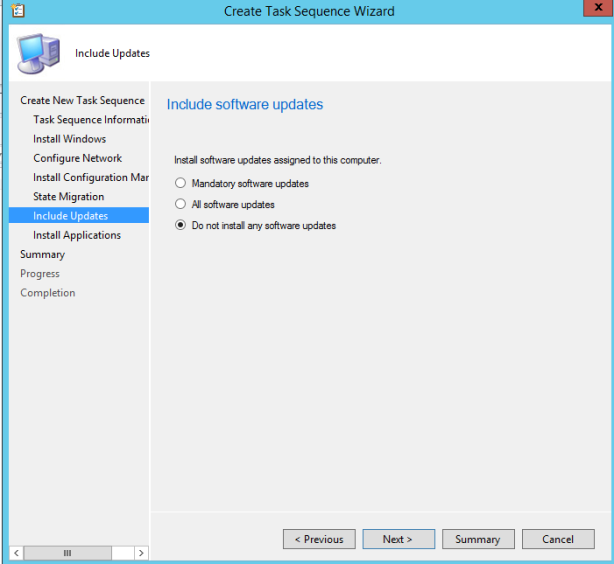
Choose if you wish to install updates during deployement
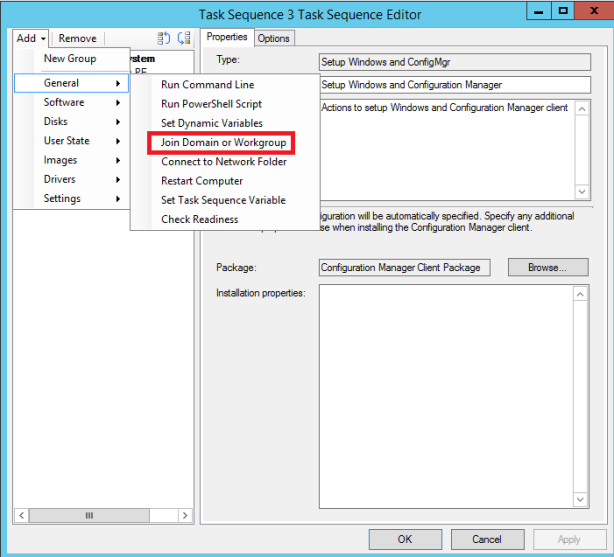
Although we specified domain details it simply didn’t work for me,so i added domain join task in Task Sequence
(After Setup and Configuration step)
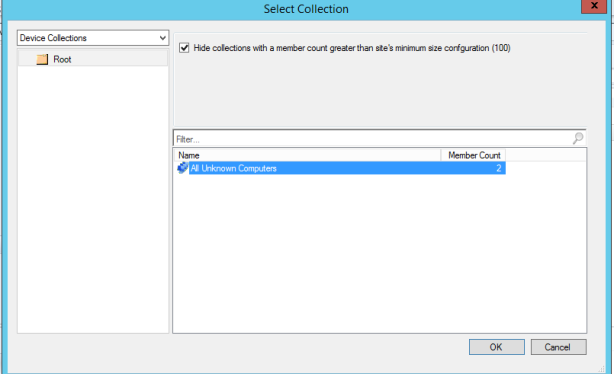
Now deploy TS:to All Unknown computers collection
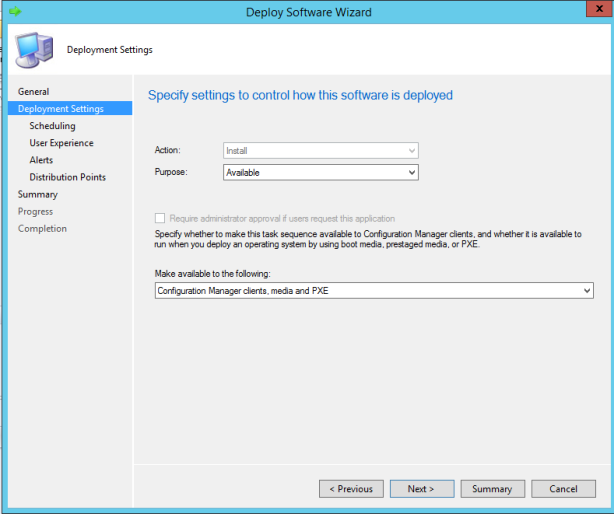
Make sure Task Sequence is available to media and PXE
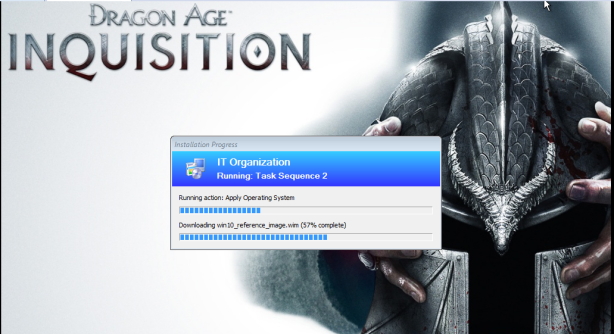
Turn on client computer,press F12 for network boot,double click on OSDComputerName
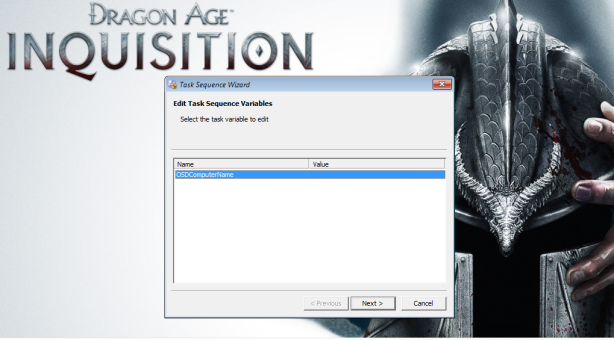
Set computer name
As you can see,reference image is downloading from SCCM server

I did all this steps, but when the client computer boot from the network, the task sequence does not appear to select it and then the computer reboot and boot from the network again.
Do you know, why?
I hope you can help me with my issue.
Greetings from Mexico
LikeLike
Have you deployed task sequence ?
LikeLike
And made it available to PXE media ?
LikeLike
I have my task sequence.. all this step is fine, but client does not start.
The Distribution Point is enabled to PXE, or I do not understand you if I did available to PXE media, Could you explain me?
My client computer should not be joined to domain, only in workgroup
I do not what it is failed 😦
Could you help me, my friend?
LikeLike
See this post https://geekdudes.wordpress.com/2015/11/08/deploying-windows-10-using-system-center-configuration-manager-2012-r2-sp-1/ how to configure SCCM
LikeLike
My friend
I have another problem… I deleted the task sequence yesterday and try to do it again, but when I try to distribuit content, the distribution point does not apper to select it.
Do you know what happend?
Greetings and thanks so much for you help
🙂
LikeLike
rmb on task sequence-Deploy
LikeLike
yes my friend, does not appear, when I try to distribuit content on the task sequence.
Do you know, why it happend?
LikeLike
Tried to update distribution point ?
LikeLike
Yes, I have updated many times, but it does not work, I do not what I did.
In fact, When I create the task sequecuence and try to add the distribution points availables, this are empty
I hope you can help me
😦
LikeLike
I haven’t had such an issue,see if this can help
http://blog.techygeekshome.info/2015/05/show-distribution-point-in-use-during-task-sequence/
https://community.spiceworks.com/topic/495279-distribution-points-not-showing-up-for-task-sequence
https://social.technet.microsoft.com/Forums/en-US/b75cd228-e284-42c3-b448-cb8151b8a51d/distribution-points-not-appearing-when-trying-to-distribute-content?forum=configmanagergeneral
LikeLike
Hi i need a help how to inject language pack to existing or captured image
LikeLike
LikeLiked by 1 person
Great tutorial.
Did you happened to get errors when capturing the image? I’m always getting a 4005 error when trying to launch the capture media. It works for some times and when it’s in the sysprep part, it crashes.
I searched the logs for some errors to point me on but it’s only a generic error. Seems like to be linked with metro apps like Skype making it crash.
LikeLike
Thanks François,i haven’t had any issues,i captured fresh new Windows 10,
You searched smsts.log ?
have You tried this:
Open regedit and look for:
HKEY_LOCAL_MACHINE\SYSTEM\Setup\Status\SysprepStatus\CleanupState\
Set to value: 2
HKEY_LOCAL_MACHINE\SYSTEM\Setup\Status\SysprepStatus\GeneralizationState\
Set to value: 7
HKEY_LOCAL_MACHINE\SOFTWARE\Microsoft\WindowsNT\CurrentVersion
\SoftwareProtectionPlatform\SkipRearm
Set to value: 1
Then, run the command:
msdtc -uninstall (wait a few seconds)
msdtc -install (wait a few seconds)
Then, reboot the system and try to run sysprep again
LikeLike
I found another log in c:\Windows\System32\Sysprep\Panther named setuperr.log. This log contains an error :
2016-09-14 15:16:50, Error SYSPRP Package Microsoft.People_10.0.11902.0_x64__8wekyb3d8bbwe was installed for a user, but not provisioned for all users. This package will not function properly in the sysprep image.
This error was occuring many times before the Sysprep finally crashes.
The sollution is supposed to be complete uninstallation of the app. The command must be made with administrator rights in powershell. The command is :
Uninstall People:
Get-AppxPackage *people* | Remove-AppxPackage
I’m trying this and will try capture again after.
LikeLiked by 1 person
Can you capture a reference system with a custom unattend.xml file?
I like to use copyprofile = true.
LikeLike
Prefect. Thanks !!!
LikeLike
For some reason when I run the capture It only sees one volume. Where does the second volume come from? Any thoughts on how I can add it?
LikeLike
Hello,
I need to instal one brand new computer with Windows 10 Enterprise using SCCm current branch 1607.
My reference Computer has one disk with two volumes ( c: d:) I would Like to capture both volumes, Is there any special procedure that Do I have to do ?
I captured the images, I Imported the image , then I made one task secuence , but The Install procedure did not function.
Could You help me?
Thanks
LikeLike
As far as i know, SCCM will capture the partition with the OS installed (tha partition holding the windows dir), If you have a second Disk/drive, I would suggest you use ImageX to capture that disk, and append it to the original wim file.. then when you deploy, you can apply that second image index, to disk 1 (OS should be on disk 0) as a data image!
LikeLike
Hello, I would like to thank you for providing such a detailed walkthrough for this process. I have followed the steps above and am currently stuck at the beginning of the process with the image capture failing with error 4005. The image that I am trying to capture was built with a windows 10 task sequence and has a few installed applications. I removed the device from the domain, uninstalled the sccm client and also removed it from the sccm console. I run the Iso and enter in all of the necessary credentials and paths to store the image and then it just kicks back the error 4005. I have not found any information in the logs that would detail what I am possibly doing wrong or is causing the issue. Any help pointing me in the right direction would be greatly appreciated.
LikeLike
Hmm.. have no idea what could be an issue
LikeLike
Dragan- After much trial and error I tried a couple of things to resolve the issue. I checked the sysprep settings in the registry and confirmed that all values were set as recommended. I removed all of the existing accounts, created a new local admin account. It finally worked and captured the image, now I can move forward with the steps and hopefully don’t encounter any other issues.
LikeLike
Hello Dragan – I too am having issues capturing the media. As same as Franc, I too get the 4005 error and have performed the following:
-performed sysprep rearm method via registry – 4 steps
-State changed to IMAGE_STATE_GENERALIZE_RESEAL_TO_OOBE – in directory and registry
-disabled service “Tile and Model SVC”
-powershell remove all apps
and ultimately get a ” [0x0f00d8] SYSPRP WinMain:Hit failure while pre-validate sysprep generalize internal providers; hr = 0x80073cf2″ error in my setuperr.log
Can you assist??? I’ve been at it for over 48 hours on the same issue.
LikeLike
Hi Carlos, i wrote that guide 2 years ago, currently engaged in something totally different, are you using latest windows 10 edition ?
LikeLiked by 1 person
Hi, i need assistance, my captured Image does not join the domain, it loads successfully but unable to join the domain.
LikeLiked by 1 person
Hi, try adding to domain from task sequence
LikeLiked by 1 person